|
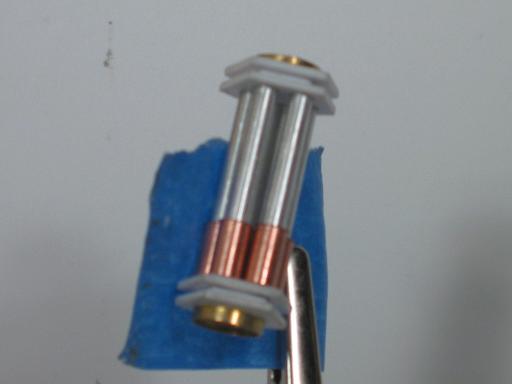
2003-12-18: I'm scratch-building an arm mounted gatlin-style
gun and when not in use it will be mounted on the MS's back, so that's where I'm starting on this project. I also need
to make a removable (and reproducable) cartridge for the said gun.
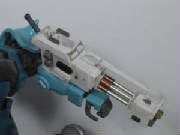
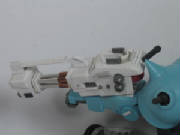
2004-01-07: The gun isn't complete but is at least
recognizable. I plan on casting a couple of the gun's cartridges for the Gouf to have as reserves. More detail
will be done later to it. I'm moving on to the legs for January's work.
2004-01-15: I was going to use the Hi-Zacks leg booster,
but found it too daunting a task. I have found other solutions though. Only progress I have to show is a little
relief action around the soles of the shoes.
2004-02-01: There were multiple items accomplished.
I think I hit each area on the leg a little at least. The legs aren't complete but have the major modifications done.
More detail will be added after I've done the major mods on the other areas.
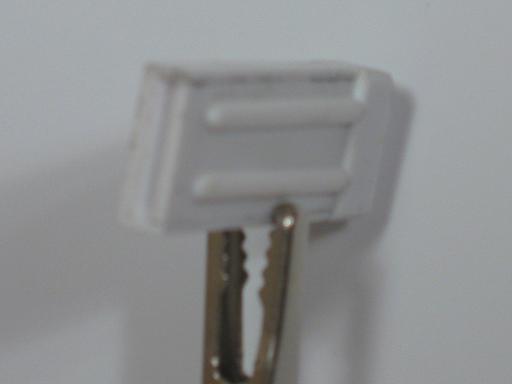
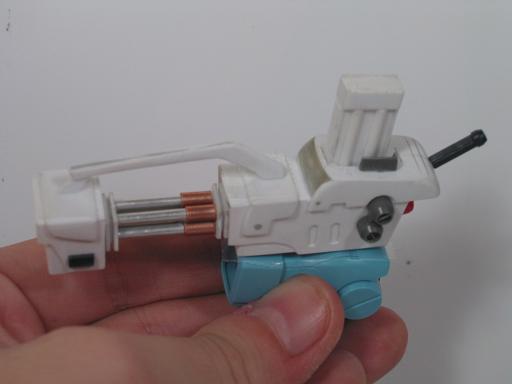
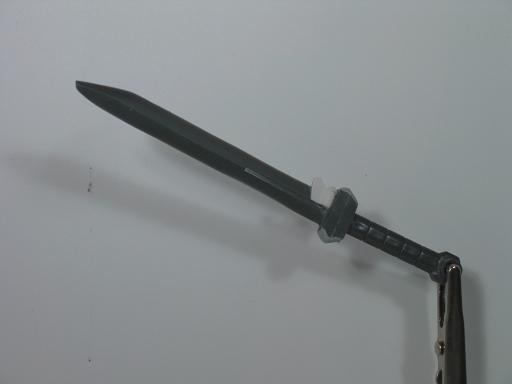
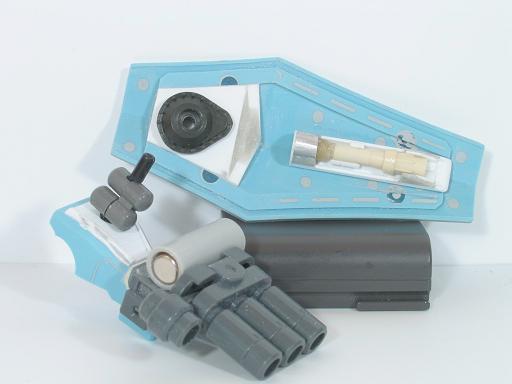
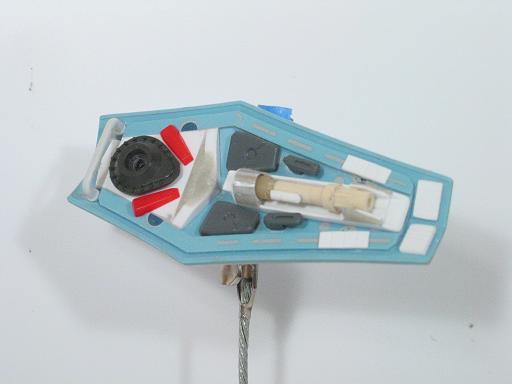
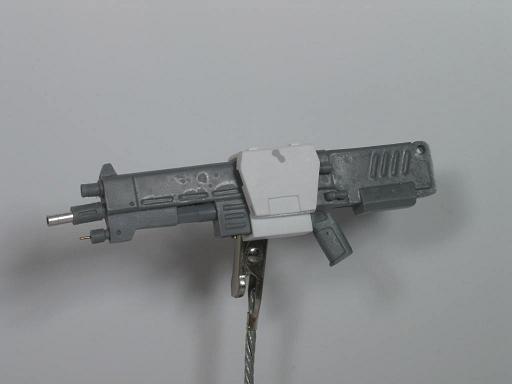
2004-03-15: Spending all this time on the array of different
weapons. This includes the B-Club MPP/80 (cleaning it, adding attachment wire dowels, and altering the barrel), the
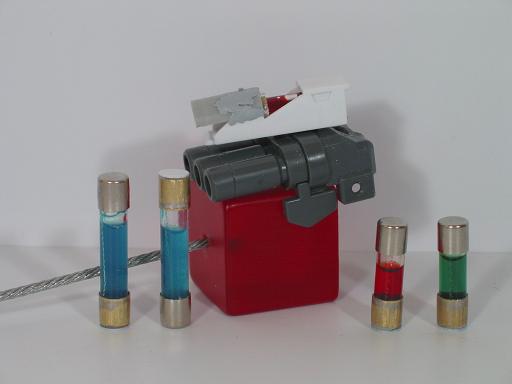
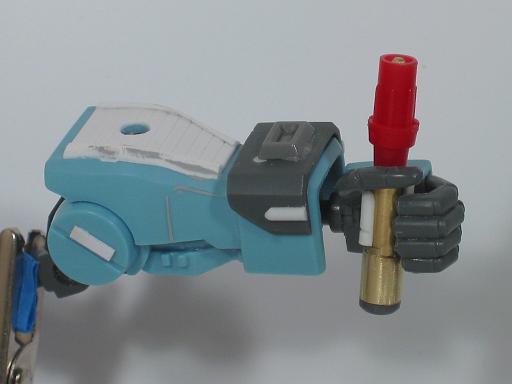
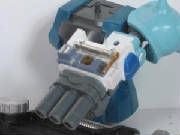
sword (instead of a huge broad sword, two smaller/slimmer swords will be armed), and the "wrist gun" (the "cartridge" was
removed and now interchangble liquid amo-capsules will be implemented). Got some stuff done this time...but lot of time
went into figuring how everything is going to fit on this one fella. Lots of coordination.
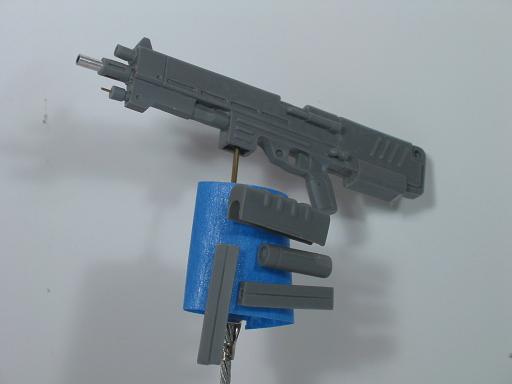

2004-03-15: I'm still working on the weapons of
this model, but think I have the details worked out in my head now. The two challenges this period were learning resin
casting...which after one very unsuccessful attempt I finally figured out. The challenge is my insistance of "changing
out" weapons on this kit. I wanted the model to be kinda like a action figure where the weapons could actually be pulled
off the back and strapped on his arm, or whatever. This complicates things tremendously compared to simply glueing a
gun to a hand. But two greater opportunities occur when this effort is put forth: better access to painting areas
and more opportunities for different poses. On the downside, I gave up on the sword for this kit. I had modified
the stock one to a slim blade and detailed the shank...even made a RTV mold ready to cast duplicates. But soon realized
it would take up too much room on the kit and opted to build a beam saber in its place. But I like the product
I produced for this shank and saber. I think maybe one more month on the weapons and I'll move on to the backpack....maybe.
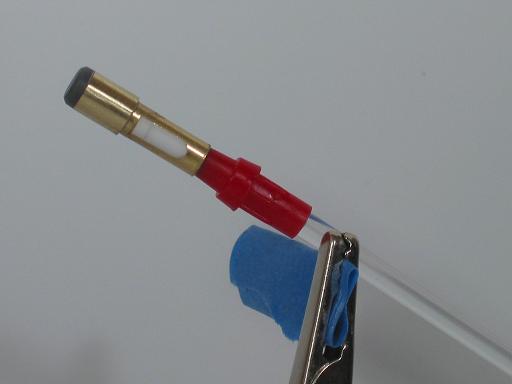
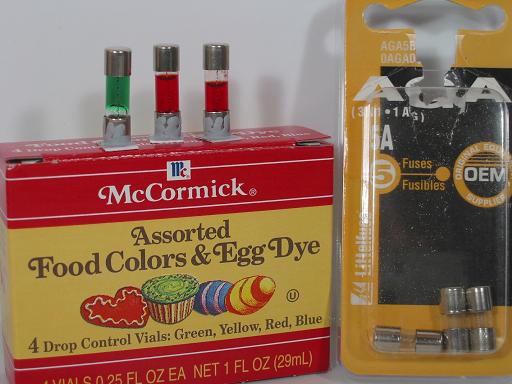
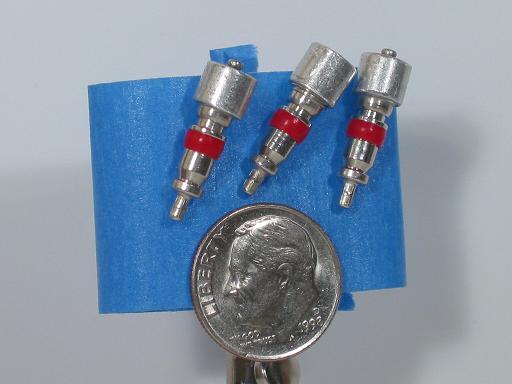
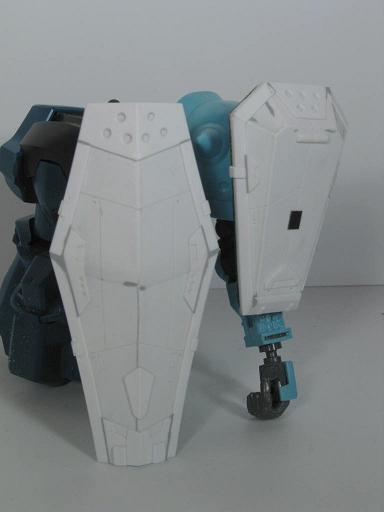
2004-04-19: Was probably the least productive I've been
since I had something big, non-modeling related, I had to focus on. But did carve out a couple items. I have a
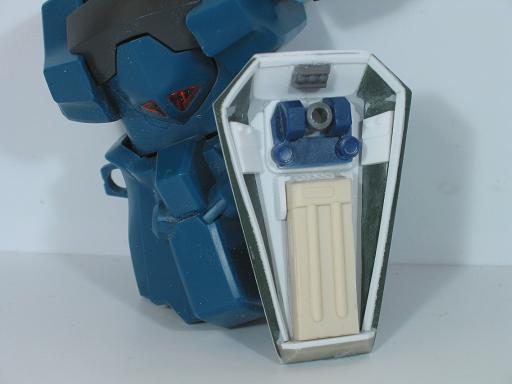
good grasp on the function/look of the interior side of the shields will look like (I'm pretty confident I know what the exterior
look like). But may come and provide more detail to them later. Found some nice tire air-thingys and modified
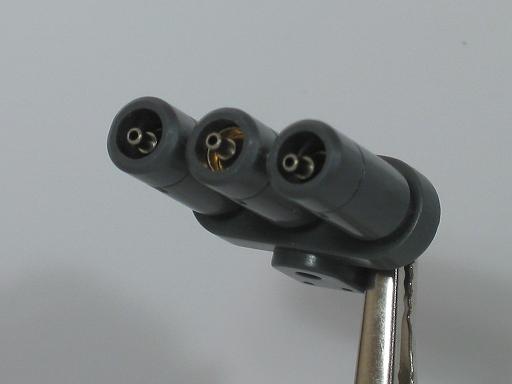
a bit and will act as grenades dangling from a belt of sorts. I also think I've figured out how I'm going to refab the
3-barrel gun now.
2004-05-01: Not alot done (again). But did figure
the interior of the main arm shield. Will likely add some more detail towards the end of the project. Still figuring
the small three-barrelled
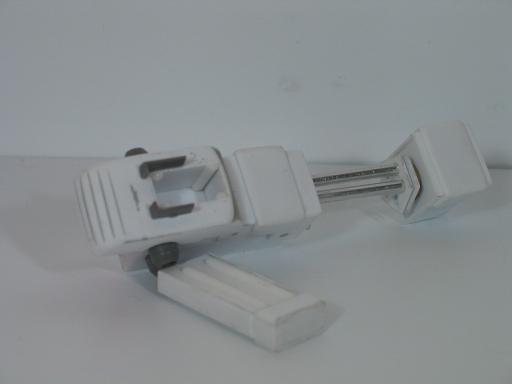
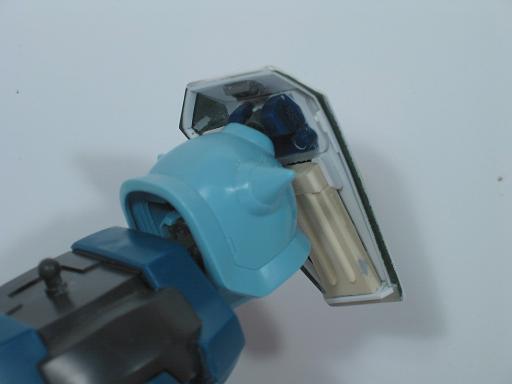
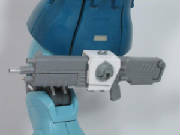
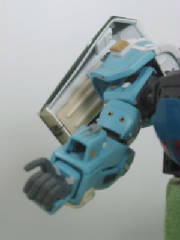
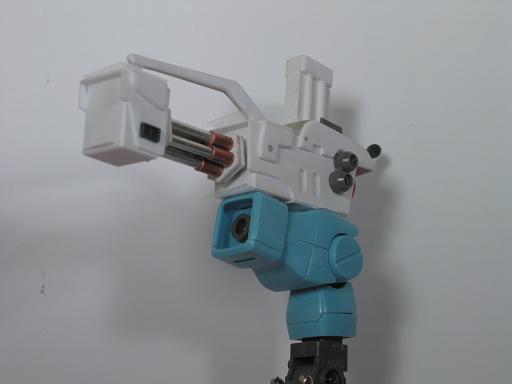
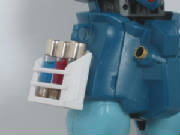
2004-06-06: Really didnd't know what I was going to do with
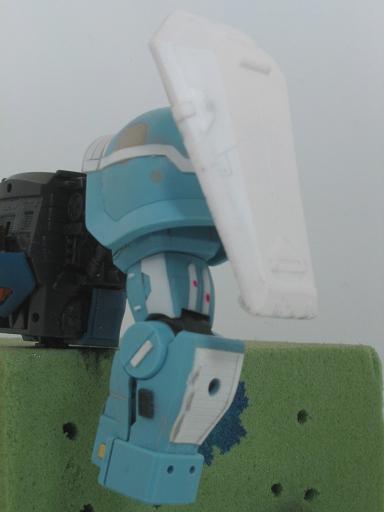
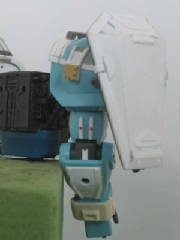
the wrist gun, but like what I did. The pictures you see here, aren't the complete version of it. Got the hard
parts of the shield exterior done. I wanted them to have some similar visual cues, to show that they both belong to
one suit. I will later make a resin cast of the shoulder shield in order to have a pair for both shoulders.
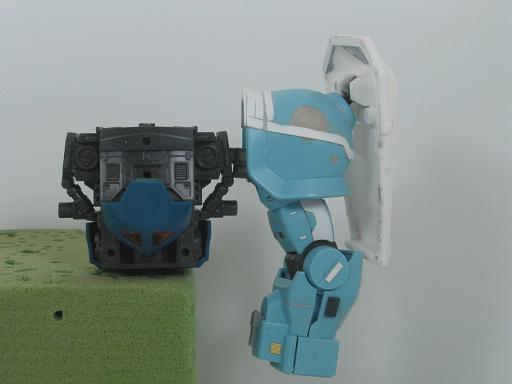
2004-07-08: Serious hiatus. But am back working on
the head. I have a concept but not 100% sure it'll be as nice as I'm hoping...oh well. All about experimenting
and learning. Heres some finished pics of some guns and such.
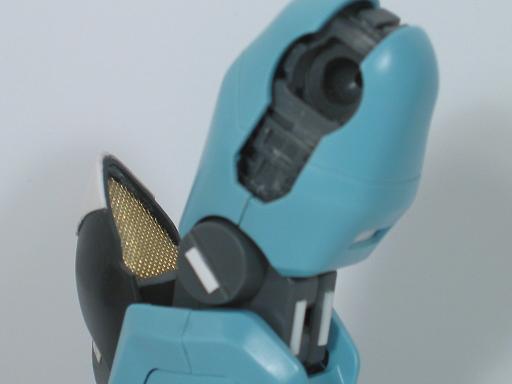
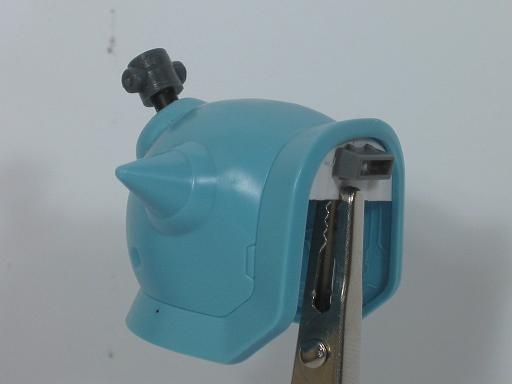
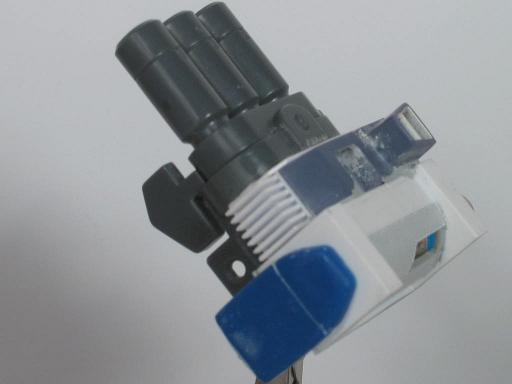
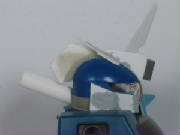
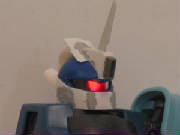
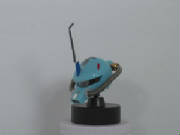
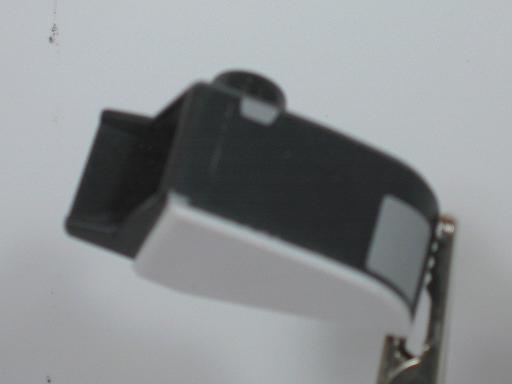
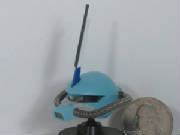
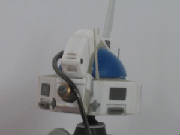
2004-07-19: I've finally stumbled onto working on the head.
Its a daunting task considering where I'm starting from and where I want to go. I found some art on the 'net that was
a cross between a Gelgoog and Feddy look. In addition, I'm using one of those HY2M light-up heads (it turns on when
a magnetic field is nearby). My goal is to have a small removable magnet post I can drop in the back of the head (for
the light to stay on for photography) then have a non-magnet copy of the post for everyday standing (with the light off).
Also, need to produce a small wand (magnetically tipped) for use for judges in competitions. All this technical
crap in addition to huge plastic surgery (pun intended) to the original head.
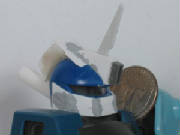
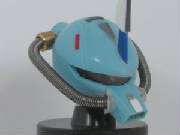
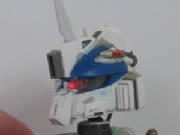
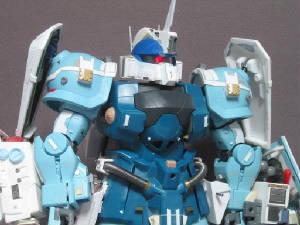
2004-08-02: More work on the head...the final shape is finally
coming along. A lot of the work was inspired...but lots was impromptu considering I didn't know how to attain what I
wanted. The head seems a little large overall. The side vents actually rub on the shoulders, so I'll have to produce
a detachable polycap type neck (hard to explain...I'll show ya later). So if I make the neck/head detachabley easy...I
might as well detail the in-box head as well, which I am. Not lots of work on the stock head...but some things that
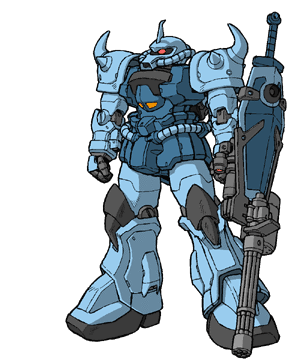
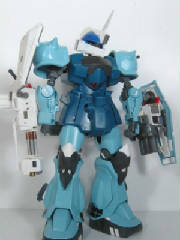
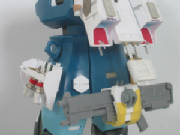
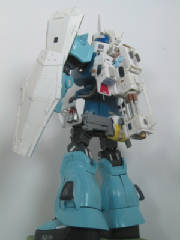
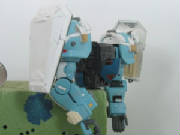
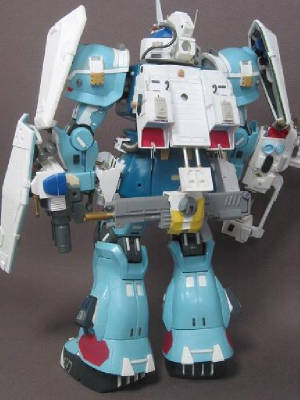
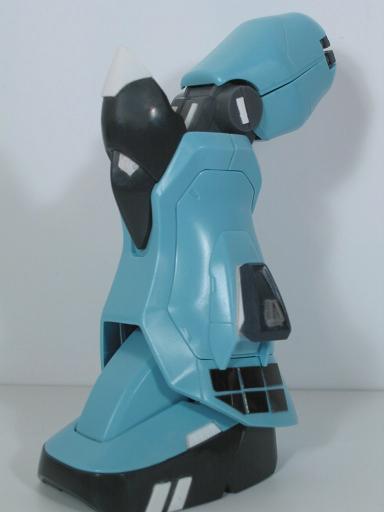
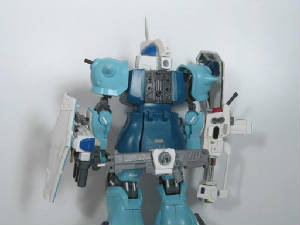
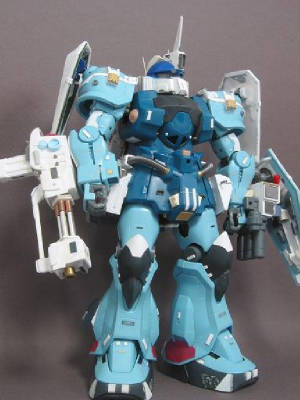
make it look a little more exciting. I also took some overall pics of the kit assembled. Its been 8 months and
still enjoying this project. But when I look at the overall project it gives me some motivation to why I might spend
two months on something as little as the head of this MS.
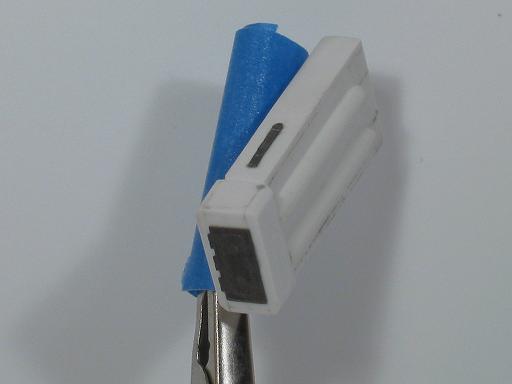
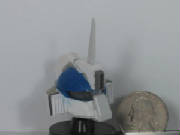
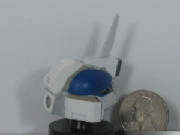
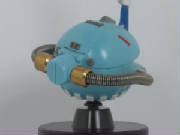
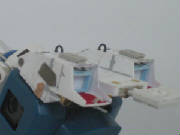
2004-09-10: The heads are complete. I've set up the
neck socket to easily accept either head with little effort. These took way too long, but I'm fairly pleased with the
outcome. I went on made one of the bases seem more appropriate to display the not-in-use head. The head with the
light is activate by any nearby magnetic wave. I made two "plugs" for that head...identical. But one has a magnet
and one doesn't. This will help for different needs between idle display, competition, and photography. Next up
is the backpack...which I think I'll be scratchbuilding. Why do I do this to myself?
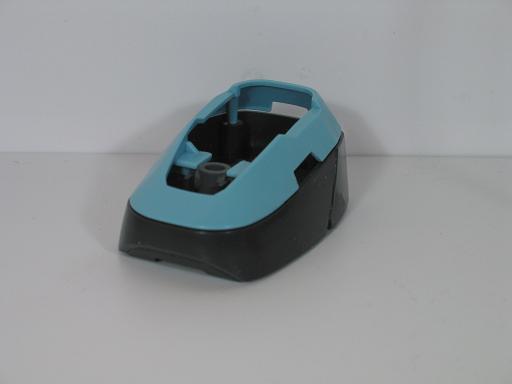
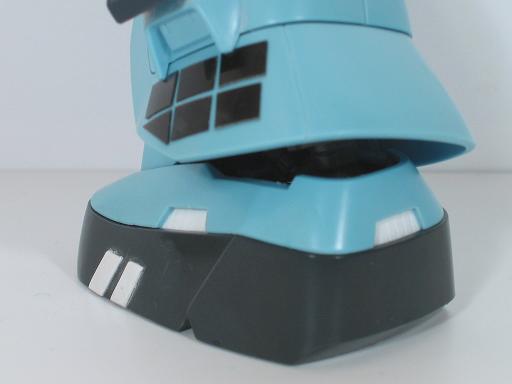
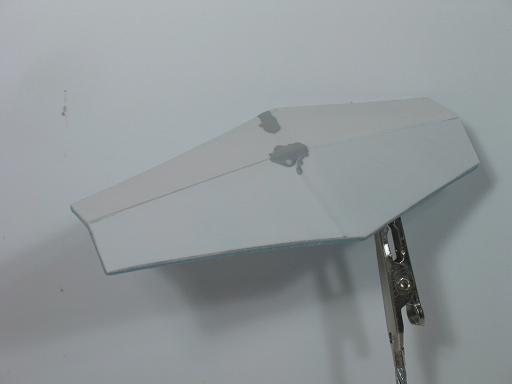
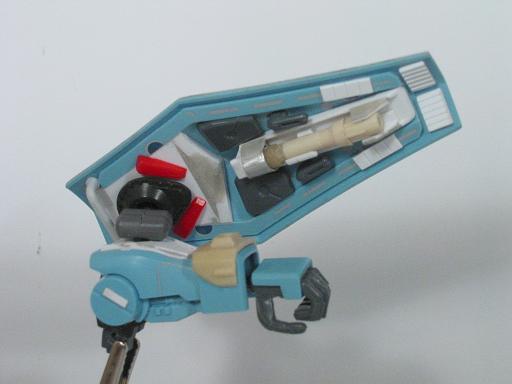
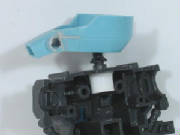
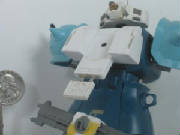
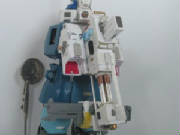
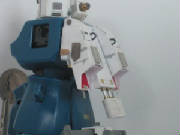
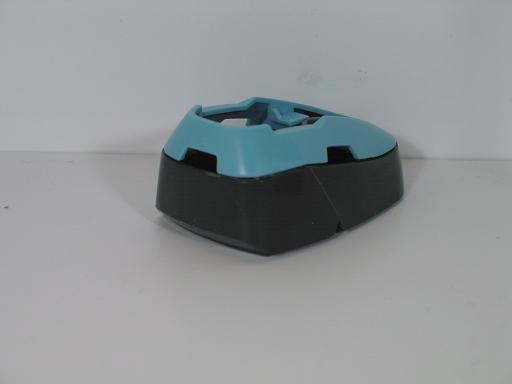
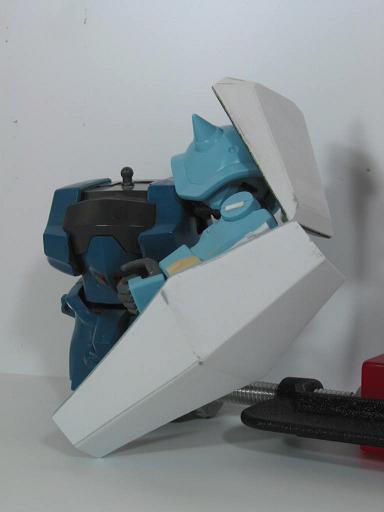
2004-12-02: Other projects in life distracted me, but I
returned to working on the backpack. Is totally scratchbuilt..the thrusters and the gun holster. Is a little bit
bigger than anticipated, but will still work. I see some mistakes here and there, but is learnign process. Am
fast approaching working on this kit for a year...that doesn't seem like a good thing, but realize I'm not tired of the kit
yet. I'm still entertained, and that's the point, right?
2004-12-15: Just three days short of working on this a year
(roughly). Surprisingly, I'm not bored. This is good. The backpack is about 95% complete...couple little
touch up items. I may come back after the whole suit is done and add little extras...but pretty much complete.
Moving on to figure out where all the ammunition will be stowed away on the suit.
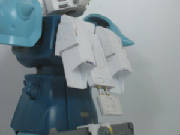
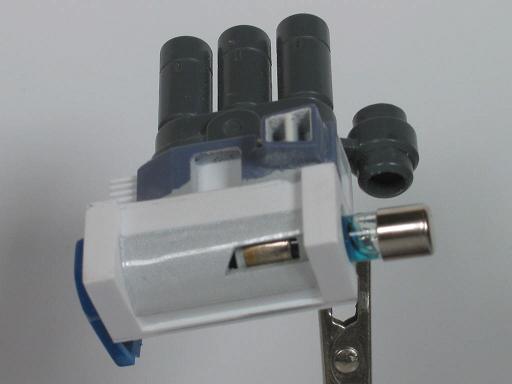
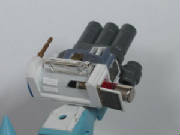
2005-01-06: Finally done with the backpack...scratchbuilt
with greeblies & photo etch. Think is almost twice as good as the scratchbuilt gun...I'm learning. Gatlin
fits on the backpack..the torso hoses fit nice into the bottom...it attaches smoothly to the back. Also created some
hip baskets for his ammo and grenades. Plenty of work, but I'm happy with the result. I've started working on
the legs...but the panel-lining I've done so far didn't photograph too well.
2005-01-17: Work on the legs is going nicely. Seems
to be my lesson into the world of panel-lining....kinda felt all the pieces were way to large (if in real life). The
panels (the pics don't do them justice...a wash over the paint job will reveal them later) needed to be smaller to be handled
more easily by humans. Keeping the details minimized...figure if a war machine, you don't want enemy infantry to have
have places to clip onto to hoist your MS to the ground...right?
2005-01-27: Have finished up the legs...on schedule.
I figure if i dedicate a month each to the remaining areas (legs, torso, arms, base, painting), I should be fine for Wonderfest.
Legs were fairly simple compared to the head and backpack, which was a welcome change. Next comes the arms....which
shouldn't be a lot of work (but I've wrongly thought that before too).
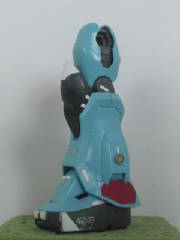
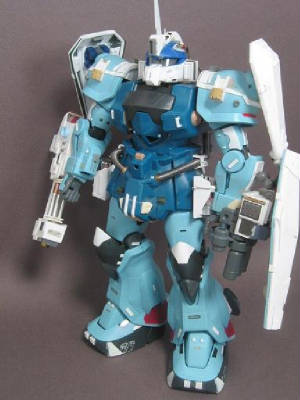
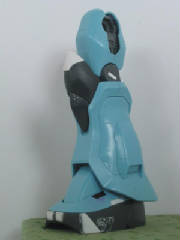
2005-04-05: I knew I'de finish some day! Have a couple
little things to clean up and mend, but construction is officially over. Now I need to weather (physically), prime,
and think of a color scheme I'll be happy with.
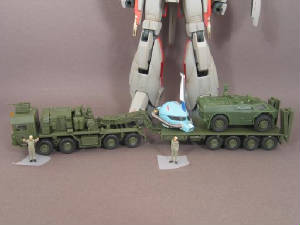
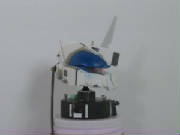
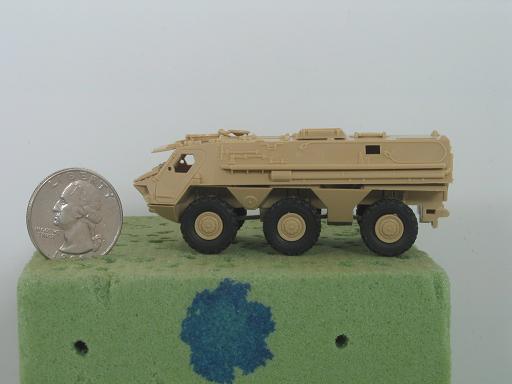
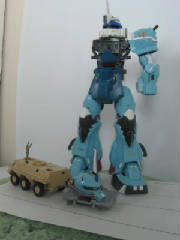
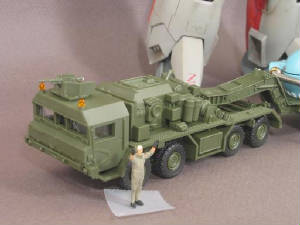
2005-04-05: Just wanted to add/plug Roco HO models.
For their scale, they are incredibly detailed (I picked mine up from Walthers). I intend on using this truck or something
like it for the Gouf display base. HO is 1/87, but if I don't show the pilot for the Gouf, the scale of the suit can
be lost and it works visually. I highly recommend them. Even if I werent' using in the base, I'de still probably
collect a couple of them.
|